Screen Record Your Mac’s Screen and System Audio with QuickRecorder

Screen recording on a Mac can sometimes be a hassle, especially when trying to capture both video and system audio. While macOS provides basic screen recording features, capturing internal audio often requires additional tools or workarounds. In this post, we’ll explore how to use QuickRecorder, a straightforward and efficient tool designed to make this process seamless.

What is QuickRecorder?

QuickRecorder is a lightweight screen recording application for macOS that simplifies the process of capturing both your screen and system audio. Unlike many other solutions, QuickRecorder does not require complex setups or additional drivers, making it a user-friendly option for anyone needing to create high-quality screen recordings.

Key Features of QuickRecorder

  • Driver-Free Audio Loopback: Record system audio without needing to install virtual audio devices or drivers.
  • High-Quality Output: Supports high-resolution video and clear audio recordings.
  • User-Friendly Interface: Simple and intuitive interface suitable for users of all skill levels.
  • Customizable Settings: Offers various settings to tailor the recording to your needs, including frame rate and audio quality adjustments.

How to Install QuickRecorder

  1. Download QuickRecorder: Visit the QuickRecorder website and download the latest version of the software.
  2. Install the Software: Open the downloaded file and follow the on-screen instructions to install QuickRecorder on your Mac.

How to Use QuickRecorder for Screen Recording with System Audio

  1. Launch QuickRecorder: Open the QuickRecorder application from your Applications folder or Launchpad.
  2. Configure Audio Settings:
  • In QuickRecorder, navigate to the audio settings.
  • Select the system audio as your recording input. QuickRecorder’s driver-free loopback functionality should automatically handle this.
  1. Set Up Screen Recording:
  • Choose the area of the screen you want to record (full screen or a selected area).
  • Adjust any additional settings like resolution, frame rate, and output format according to your needs.
  1. Start Recording:
  • Click the record button to begin capturing your screen and system audio.
  • Perform the actions you want to record on your Mac.
  1. Stop Recording:
  • Click the stop button once you’ve finished recording.
  • Your recorded video will be saved to the specified location on your Mac.

Additional Tips and Insights

From the discussions on Reddit and various tech forums, users have shared several valuable insights:

  • System Compatibility: QuickRecorder is compatible with macOS 12.3 and later versions, ensuring it works with the latest macOS updates and features source source.
  • Ease of Use: Many users appreciate the simplicity and effectiveness of QuickRecorder, highlighting its minimal configuration requirements compared to other tools like BlackHole or Soundflower source.
  • Versatility: QuickRecorder supports various features such as mouse highlighting and screen magnification, making it suitable for creating professional tutorials and presentations source.
  • Community Feedback: Users on forums have praised QuickRecorder for its reliability and the developer’s responsiveness to feature requests and updates source.

Conclusion

QuickRecorder is an excellent tool for anyone looking to capture their Mac’s screen with system audio without the hassle of complicated setups. Its user-friendly design and high-quality output make it a standout choice for both casual users and professionals.

For more detailed instructions and to download QuickRecorder, visit the QuickRecorder website.

By following this guide, you should be well-equipped to create high-quality screen recordings on your Mac, complete with system audio. Whether you’re making tutorials, recording gameplay, or capturing meetings, QuickRecorder provides a reliable and straightforward solution.

iOS 16 Public Beta

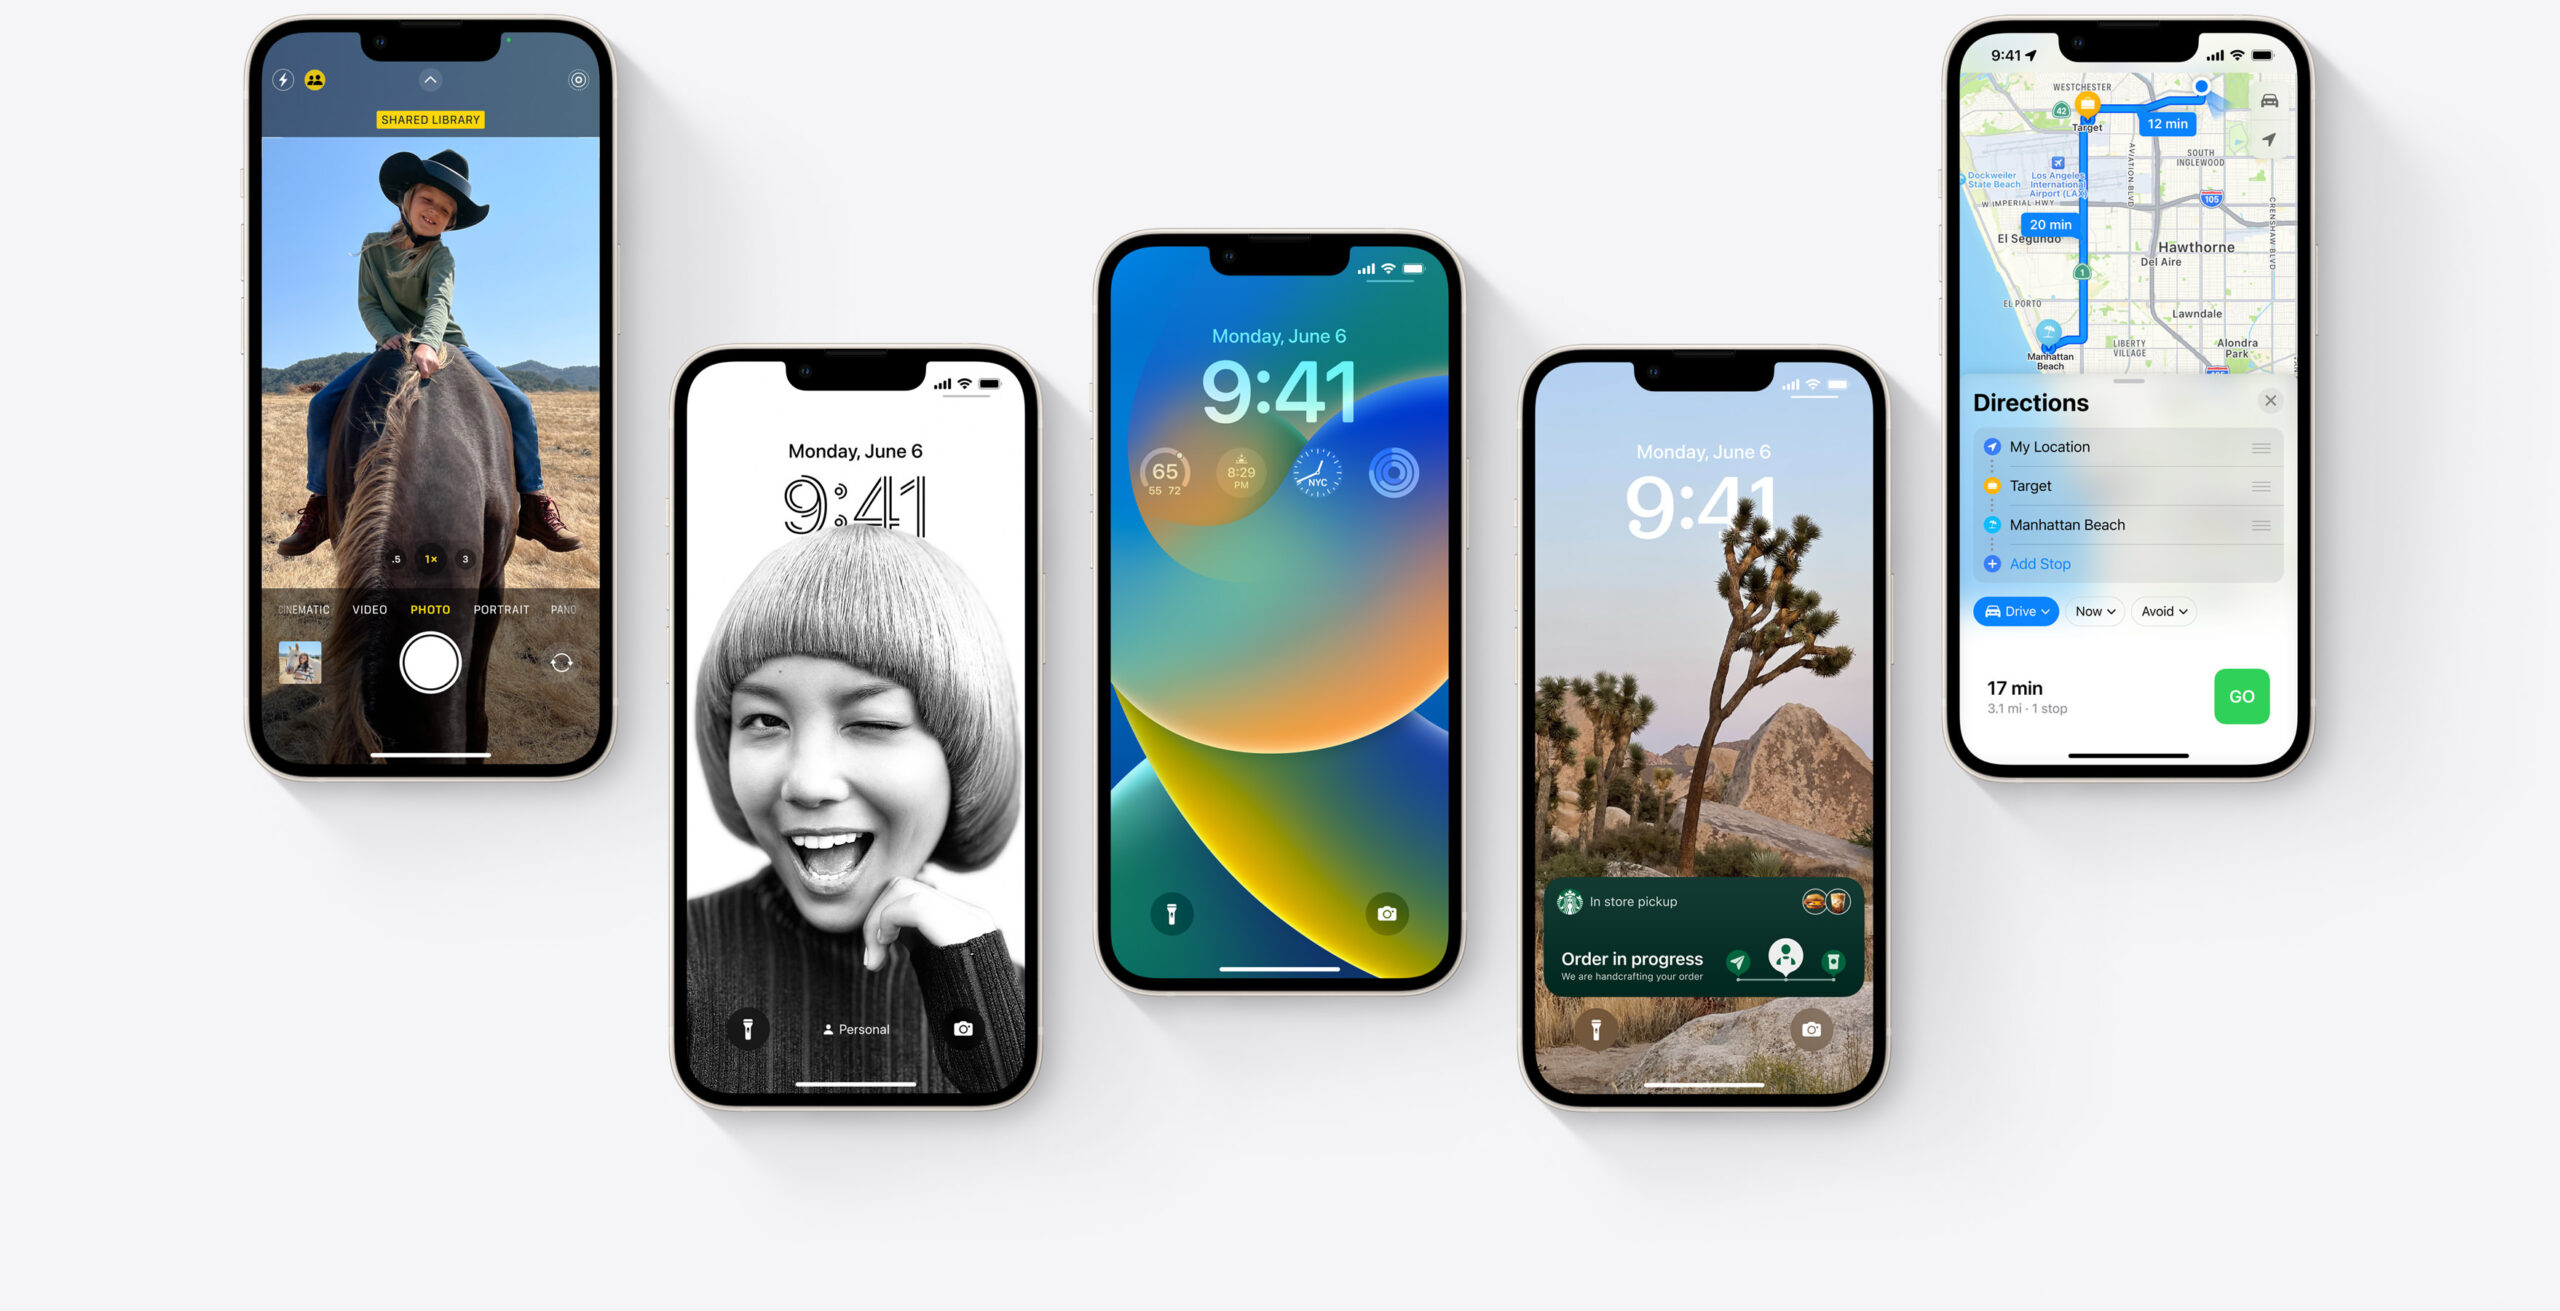
iOS 16 Public Beta 1 Release Date Announced

Historically, Apple has made the first beta available to developers on the same day as the announcement, which is of course, today. Apple wants to make sure that the update is in as good a place as it can be before making it available to the public, though, and that won’t happen until later this year – likely in or around September.

But those who are on the public beta program won’t need to wait quite so long – the first beta to be made available via that program will land next month in July.

Amazon Prime Mac App Released

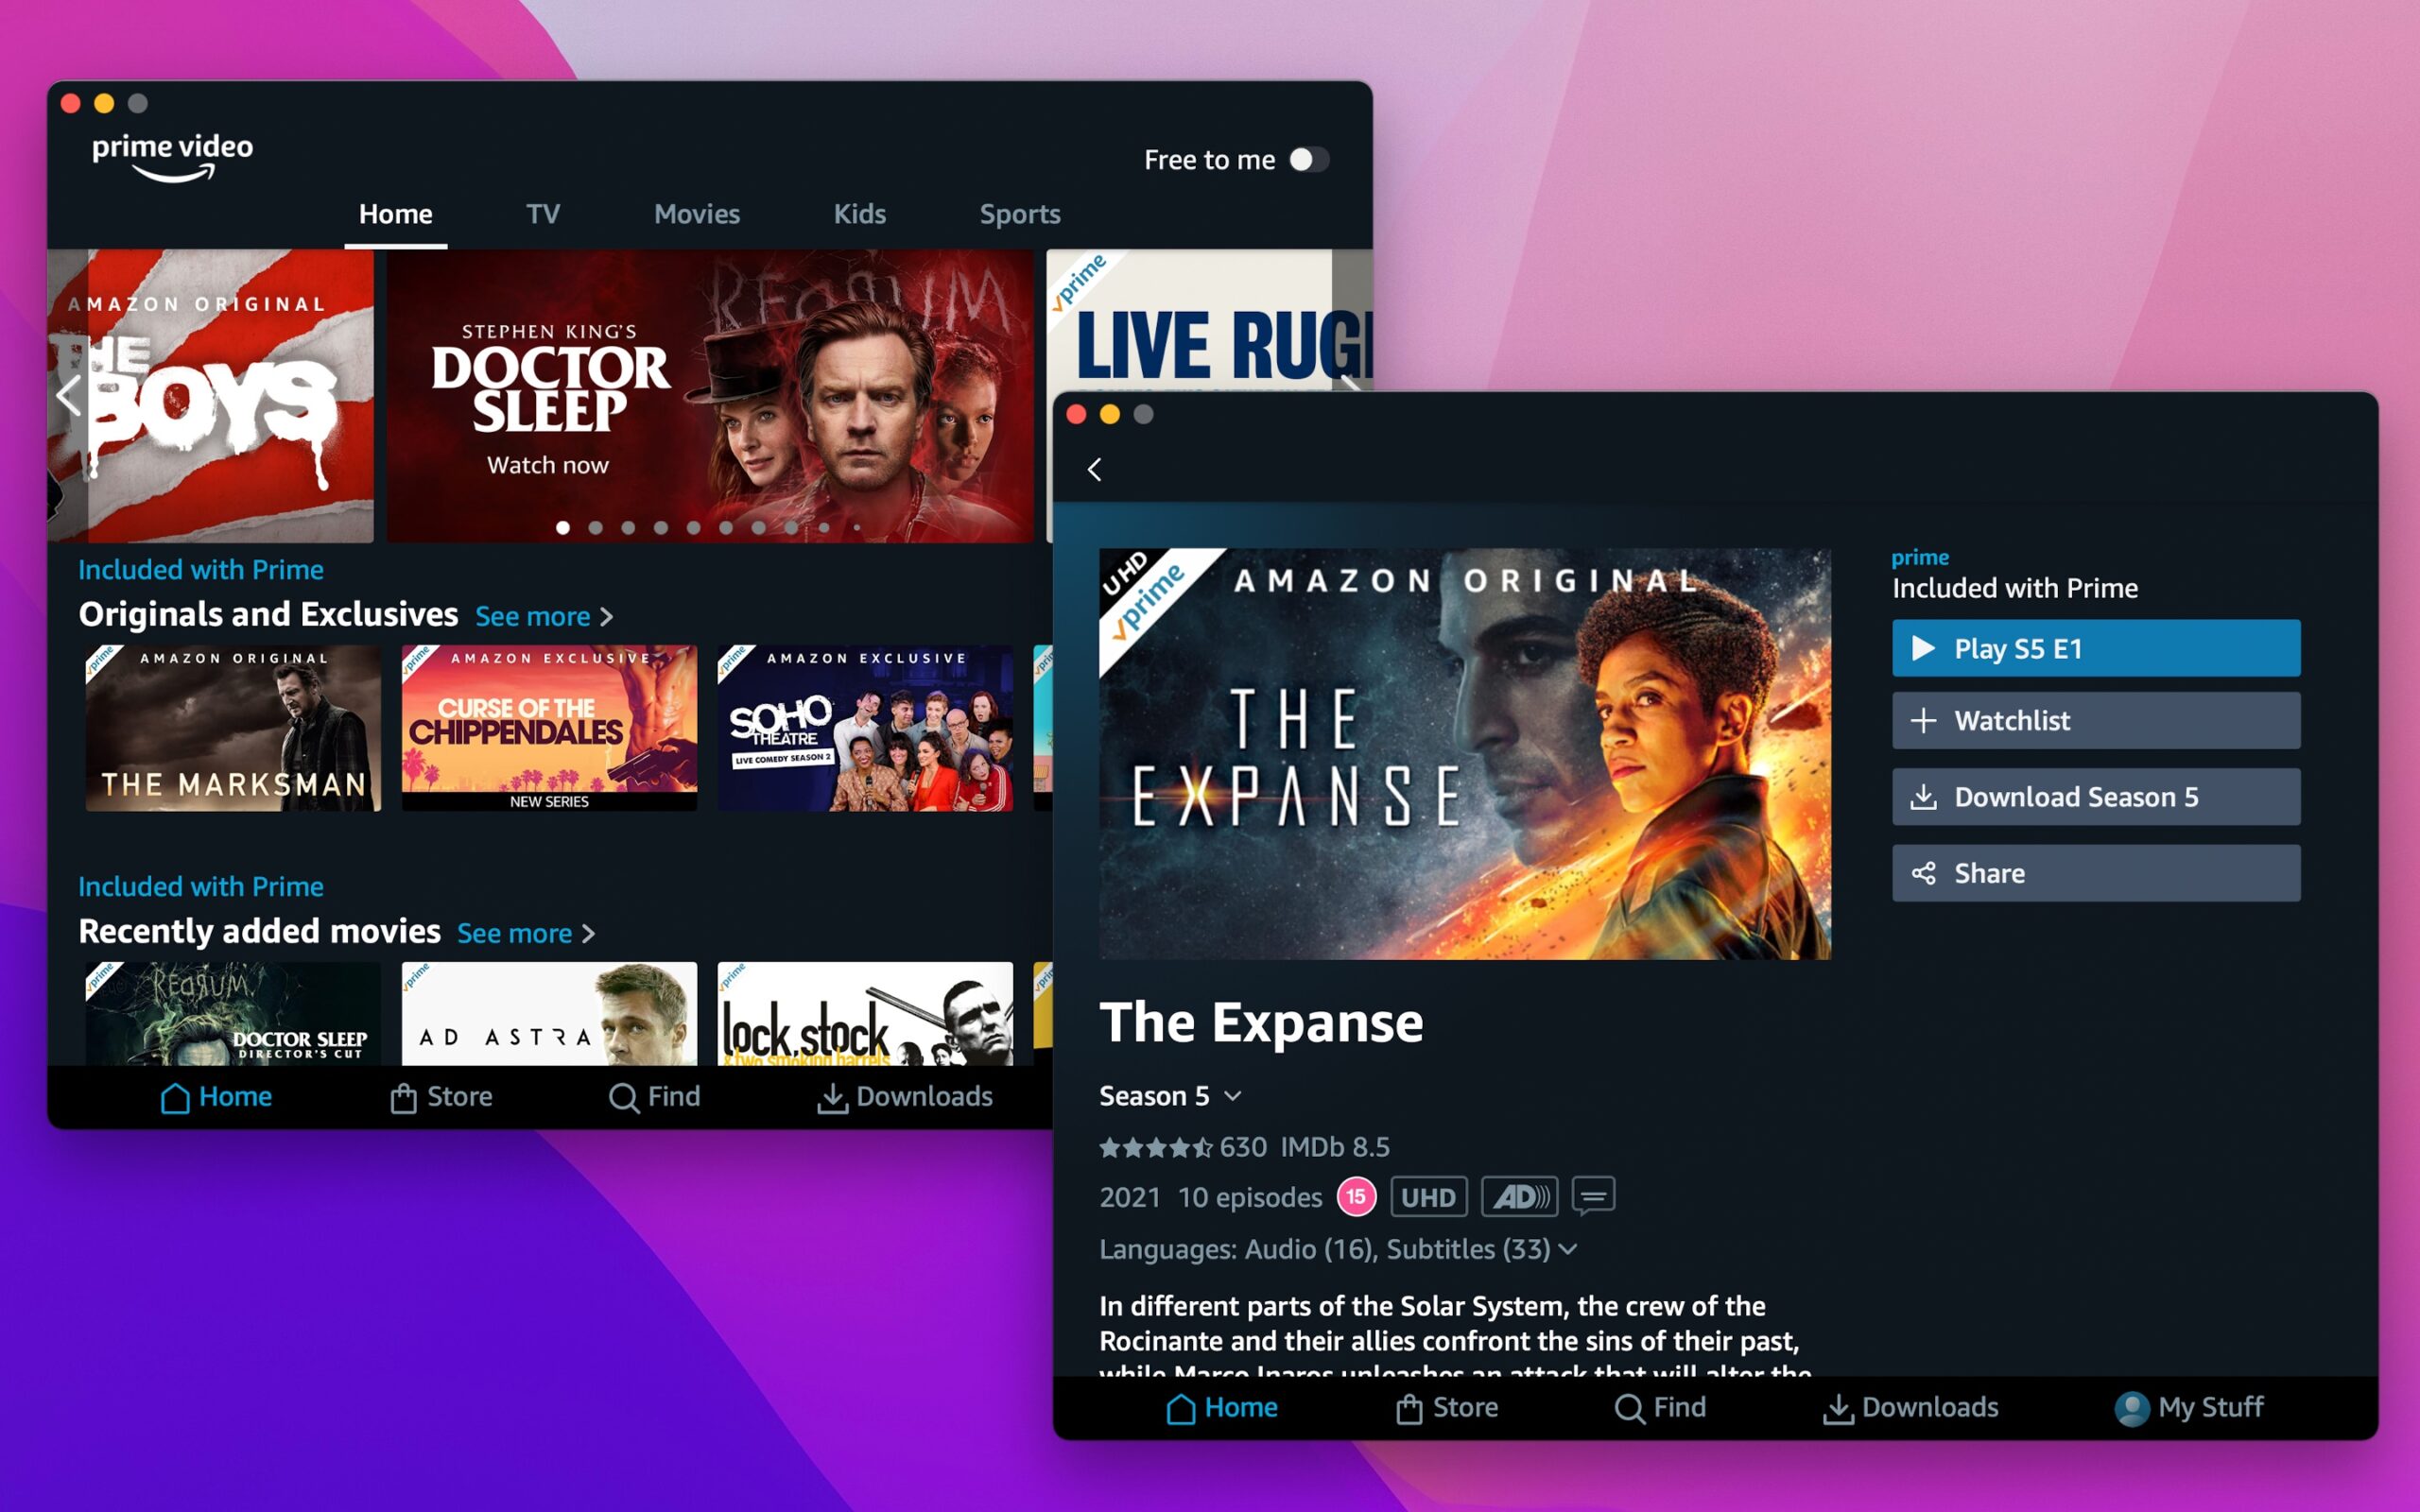
Amazon Prime Video Now In The Mac App Store

To coincide with the eminent mayhem that is Amazon’s Black Friday, Amazon have released Prime into the Mac App Store available to download. The term native app might be a touch misleading as it’s seems to be more of a web wrapper

The Mac app does offer some nifty features like downloads, multi user logins and airplay functionality. However as one reviewer on the App Store points out some might argue the app is a little pointless as UHD or HDR would be supported but the image quality is the same.  There is also one oddity that the app itself cannot be expanded full size but video play back can be.

Of course to view any content on Amazon you will need an Amazon Prime subscription which can be purchased yearly or monthly.

Download the Amazon Prime app directly form the App Store

How to Connect a ps5 Controller With iPhone, iPad and Mac

Wether you’re into Apple Arcade or fancy going for some proper AAA gaming you’re going to need a controller. In this video we cover how to pair and use your PS5 DualSense controller to your iPad, iPhone or your Mac.

To pair your controller

  1. On your PS5 controller press and hold the playstation button and the share button (its the one of the top left hand side)
  2. Wait till the Playstation 5 controller starts pulsing blue then it’s ready for pairing.
  3. On your iPhone or iPad running iOS 14.5 or iPadOS 14.5, open Settings
  4. Tap on Bluetooth
  5. If all goes well you will see your controller on the bluetooth screen.  Click connect and viola.

Now it’s worth mentioning that the majority of games will see your PS5 controller but show Xbox controller buttons. This is due to developers following the reference guides for MFI controllers.

Basically this means that A is X
B is circle
Square is X and
Triangle is Y.

Also you won’t get the full use of your your £60 playstation controller.  Motion controls, touch pad, adaptive triggers and haptic feedback don’t work at all and it’s unclear if any developers can and will use these features in the future.

LumaFusion running on 13″ Apple MacBook Pro M1

As a long time user of Lumafusion for our YouTube channel this has been a video I’ve been waiting for.  What’s it like to run LumaFusion for iPad / iPhone on a MacBook Pro.  I had expected a dramatic increase in render time but it seems to match the latest iPad Pro which sort of makes sense…

Microsoft’s new Xbox Beta app is now available for iOS devices

Microsoft has launched the new Xbox app (beta) on iOS a few days after rolling it out to Android devices. The app features console remote play and allows you to install any games remotely, among other capabilities.

Harrison Hoffman, Senior Program Manager for Xbox, announced the app’s release today via a Twitter post. However, for those who would like to join the beta testing using Apple’s TestFlight app, the program has now been closed.

The beta app supports iPhone, iPad, or iPod touch running iOS 8 or later. However, you must have iOS 14 beta or later in order to use the app clips feature.

It’s worth noting this is completely different from the Project XCloud project which allows you to play Xbox games in the cloud, just like google stadia.

If you are fed up with Google tracking you, seeing adverts for items you have searched on mysteriously appear in google adverts then DuckDuck go is for you.  Famously known as the search engine as good as Google but with a privacy on focus you can now use this trusted service provider as your internet browser.

To do this:

  • Download the DuckDuckGo app (it’s free) from the App Store
  • Go to Settings > DuckDuckGo (you’ll likely need to scroll a bit)
  • Tap Default Browser App and tap DuckDuckGo

Here’s a link to DuckDuckGo’s iOS 14 blog post.